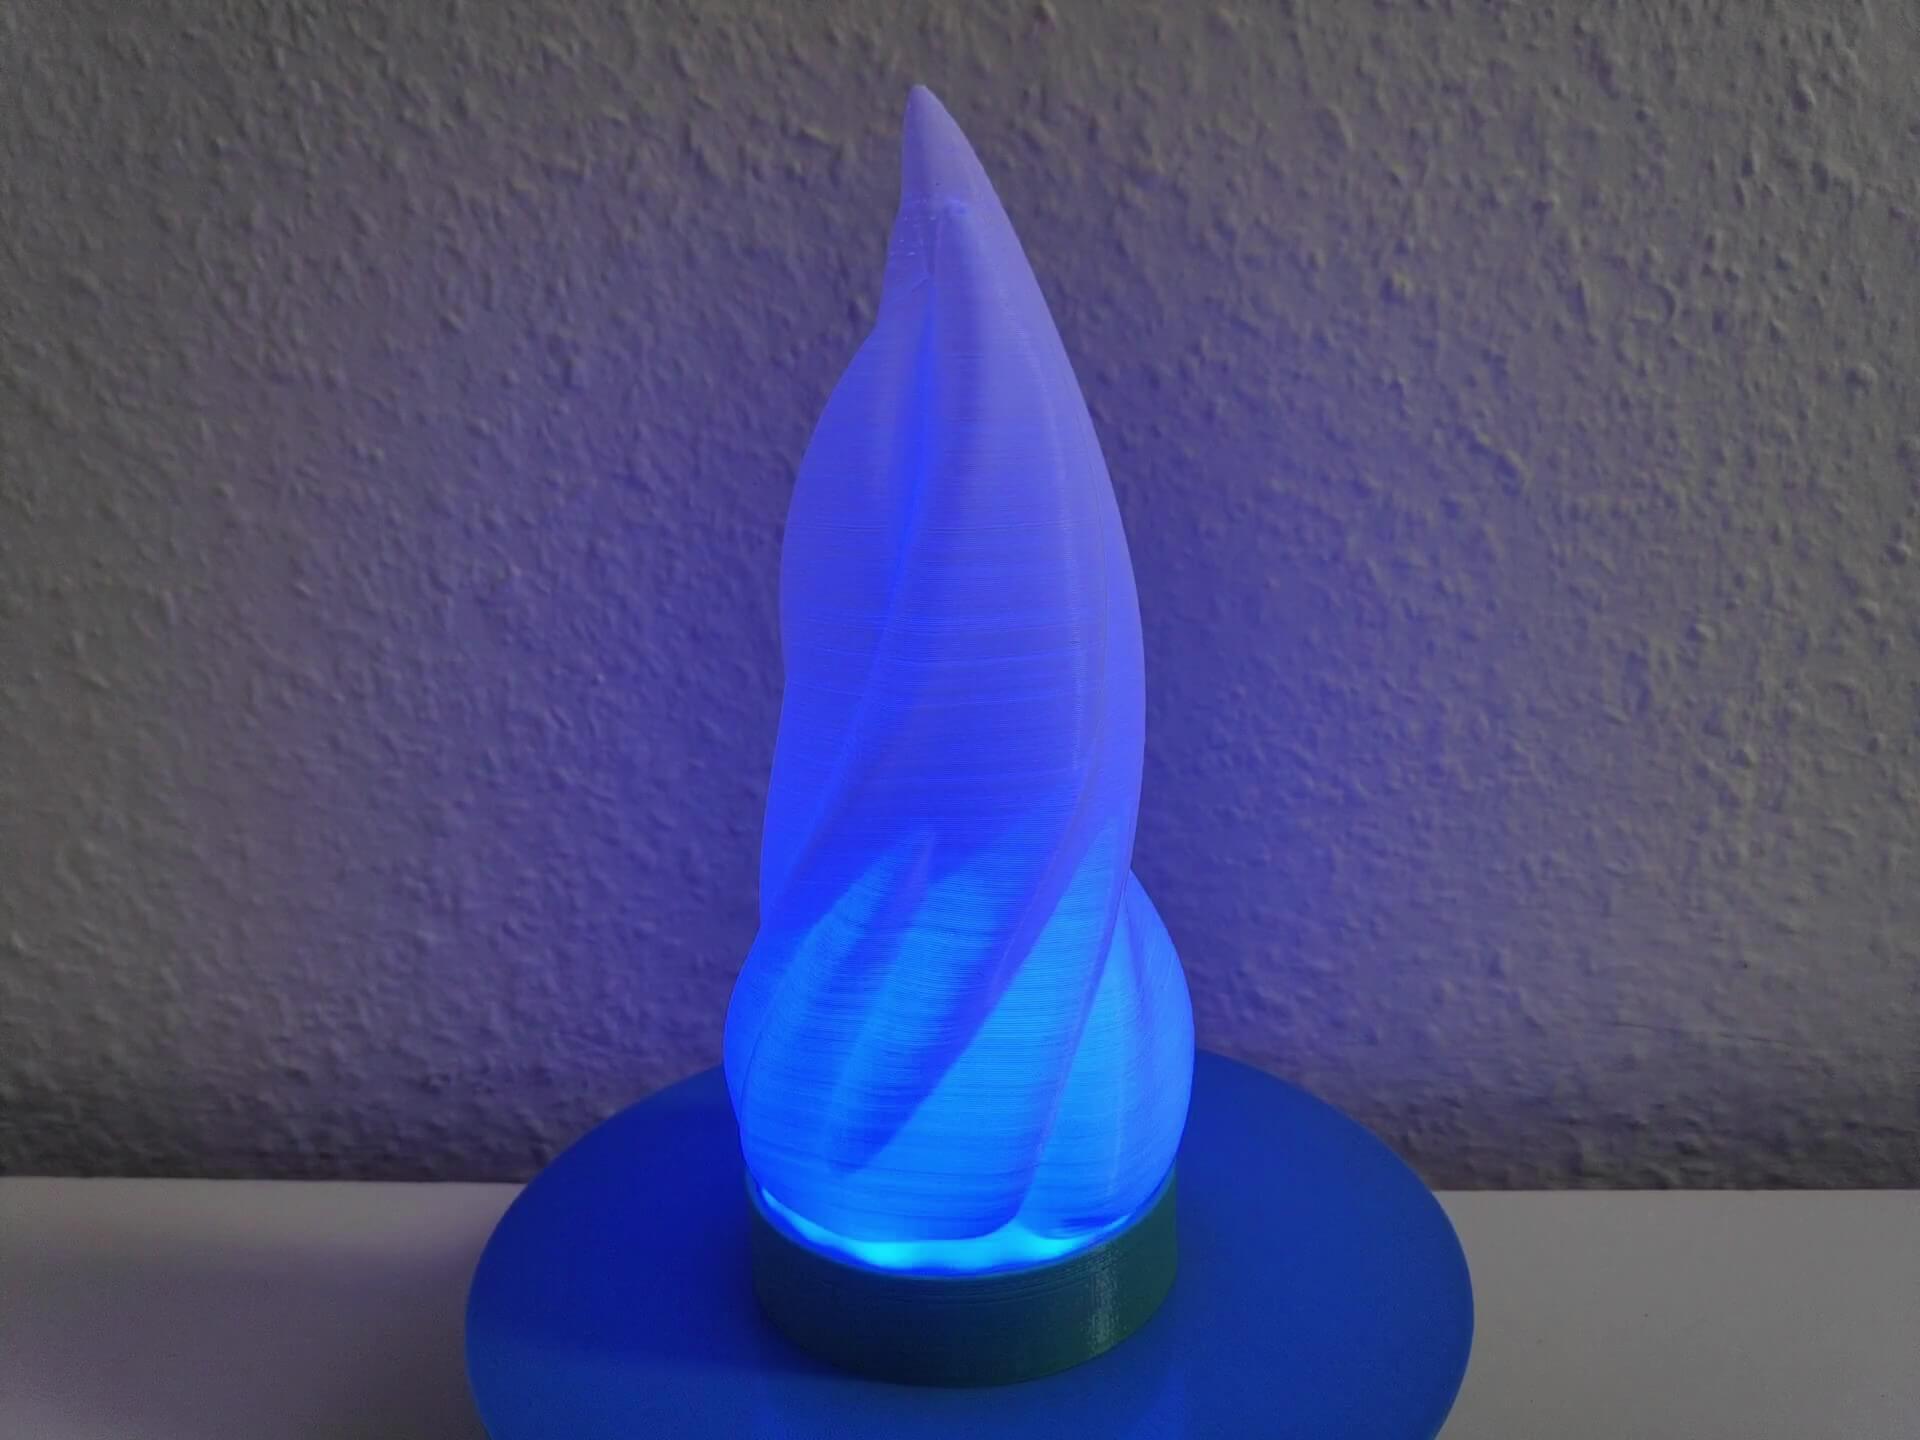
Fully 3dprintable fire pit rgb desk lamp, with a flame shaped light based around ws2812b Neopixel 16 led Ring and esp32. Comes with a pitfire style base and with a blank one to add it to any project. Ready to Web control with plenty of effects and Smart home integration using WLED.
3D Design and printed parts
This object is based around two 3d printed parts, a flame, designed to be 3d printed in vase mode, preferently in white or transparent plastic, and a base that fits the neopixel ring and the esp32 dev board.
For the base i provide two stl’s, a blank base or a “stone pitfire” look, but you have unlimited options, you can find in the github repo of this project, original fusion 360 files so you can add any base that you could imagine, or if you are not familiar with the program, you can also edit the blank stl base file with Tinkercad, which is way easier for beginners.
For the base i used 0.4 mm nozzle 0.3 mm height with 3 bottom and top layers and 3 permiter lines with 10% infill and works ok, for the flame you should print it with vase print, no botom layer, and some with some brim to fix it to the hotplate. Both prints should be under 80gr of plastic, here’s a little render of the result.
Components
| number | Component |
|---|---|
| 1 | 16 led Neopixel ring |
| 1 | esp32 30 pin dev board (LuaNode32) |
| 3 | broken female dupont wires(or two female-female) |
| 1 | 2A microUSB cable |
| 1 | 5V 2A USB power source |
| 80 gr | PLA filament |
Electrical connections
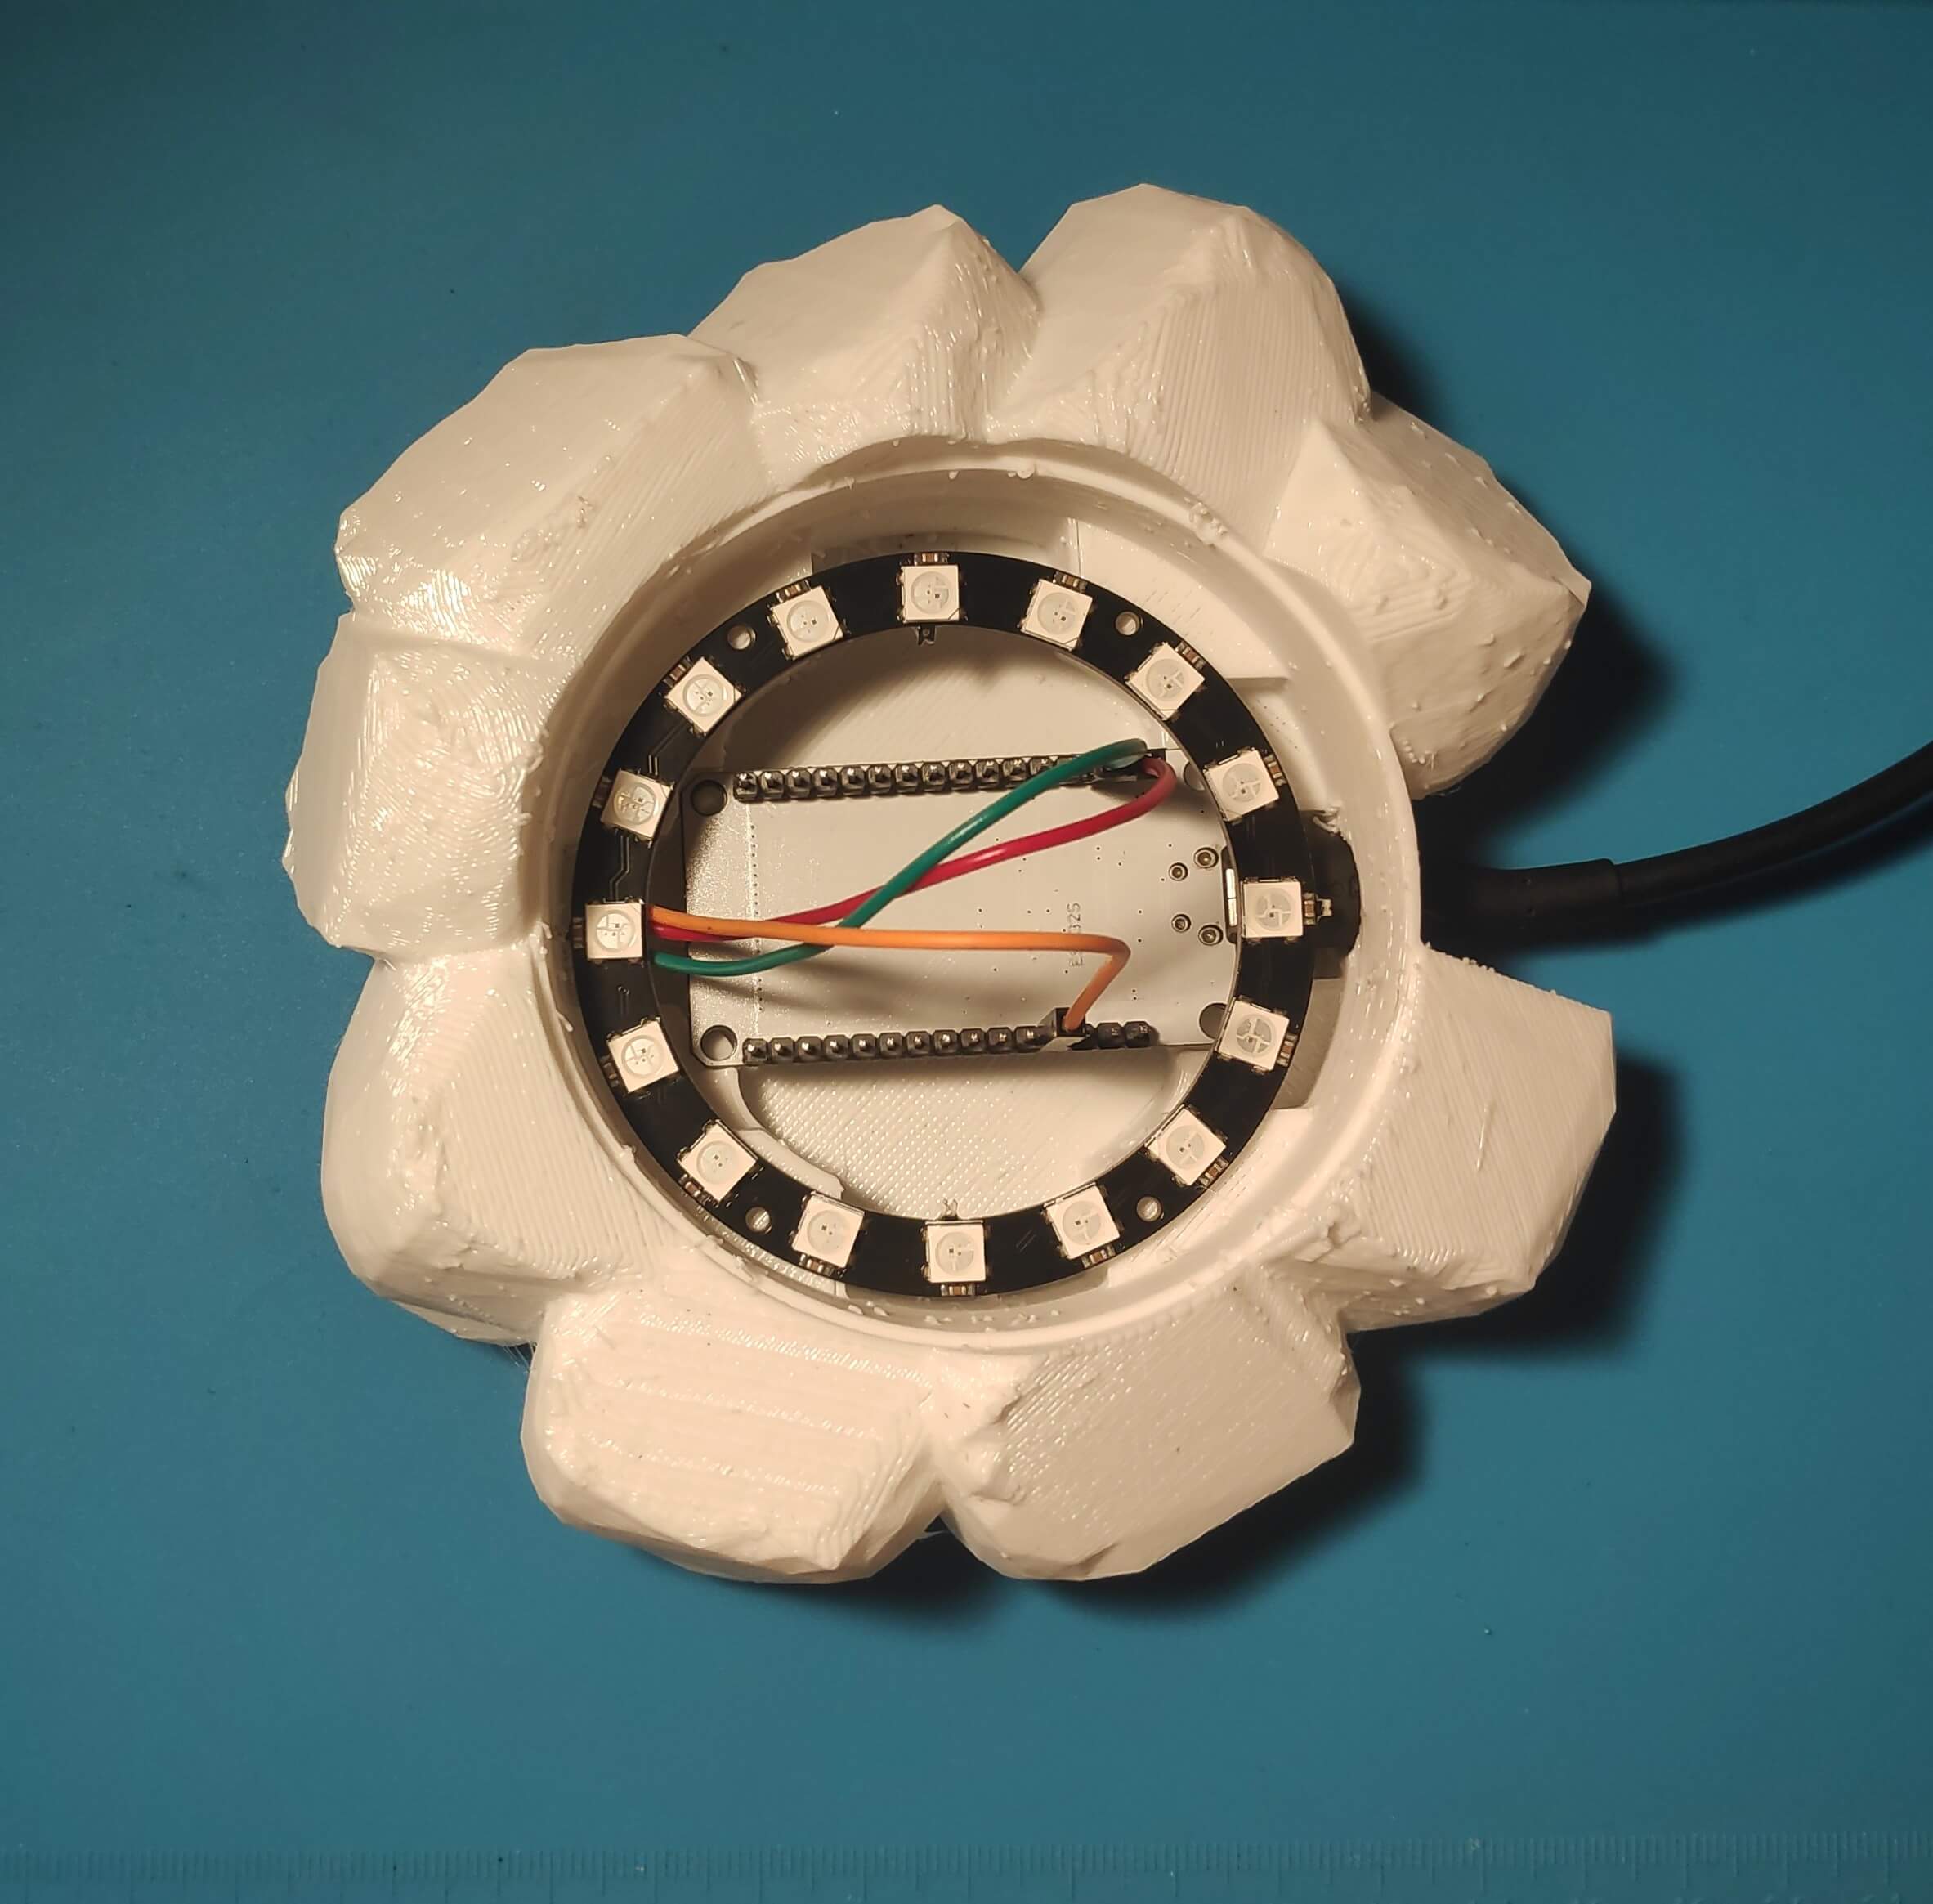
Electric connections on this project are very simple. First, you need to cut three dupont female ends with some 6 cm of cable each, and solder them to the three pads you can find on the underside of the Neopixel Ring labelled as 5V, GND and DI, the cable should point to the inside
![]()
![]()
They go connected the next way:
| esp32 | Neopixel |
|---|---|
| VIN | 5V |
| GND | GND |
| D2 | DI |
![]()
ESP32 WLED install and config
For the control of the leds we are going to use WLED program, with this we are going to be able to control our LEDs from any web browser as an AP, or we can can also add it to our local network, and it’s integrable to most of the smart home applications as HASS or OpenHAB.
You can refeer to original WLED wiki for updated install steps, but in brief, at time of writing this guide, we need to:
- Download latest ESP flashing tool.
- Download latest ESP32 firmware.
- Flash the firmware using the flashing tool. At this point, we should be able to connect to the board and conect to the AP on 1.2.3.4 using the passw wled4321.
- Inside of WLED settings page you should change the number of leds to 16.
- If we want to control it from the local network, add local net credentials.
- If we want to add it to HASS, it should automatically appear as a device.
Final assembly
To assembly the device,
- Put the esp32 inside of the base, and connect it to the microusb cable.
- Place the esp32 in it’s place.
- Put the Neoring over, and connect the female ends to the corresponding pin.
- Place the flame
- Enjoy!